
Ok people. Close your eyes if this looks like it's going to be a bit too dorky for you. I fully intend to get my blog into print form using 'blog2print' or something similar, at some stage.....so that when I'm old and probably demented, I'll have something interesting to read and reminisce about (that I understand). I'll also have easy instructions to follow when I want to sew, make soap, make washing powder or maybe piece a quilt.........you get the drift. My own little 'Funk & Wagnall'.
I also posted this tutorial on Rhonda's blog here because I'm always endeavouring to get my brain around the internet world and doing things like blogging and uploading tutorials is fabulous practise.
Ok here we go..............
How to make an apron or 'pinny' out of a man's shirt.
(I think it's called 'repurposing').
Choose a shirt that has a good length and plenty of room.
You'll need one with long sleeves. Don't ask why, just wait and see.
You'll need one with long sleeves. Don't ask why, just wait and see.
This sturdy denim one cost me $3.50 from the op shop. I have to buy shirts because I think (just between you and me) that I'm fatter than my husband.

Leave the shirt buttoned up and cut off the sleeves and neckline.
The rebel in me just loves to do this to a perfectly good shirt. Yes, I do live dangerously some days.

Try on to see how the fit is and trim if it's too wide on the shoulders.

I like to use really large shirts to get the length, but that often means they are too wide across the back.

If the shirt that you have chosen is too wide, make a little pleat in the centre back. Try on for size.
You want it to be loose and roomy, but not falling off your shoulders.

When you are happy with the fit, stitch down.

Try on again (the pinny may bit a bit 'gapey' under the arms if you're using a very large shirt) and when you're completely happy, overlock or zigzag all raw edges, fold over 1/4" and stitch down.
The neckline and armholes can also be finished with bias tape, however this denim shirt was a little too bulky for that.

Now for the pockets! (I love this bit). This is where you can get really creative, depending on the shirt you have chosen. Sometimes I'll choose a shirt solely on the design of the cuff! I found a pale green hemp shirt recently that had a retro floral print inside the cuffs.....but that was chopped up for a quilt.
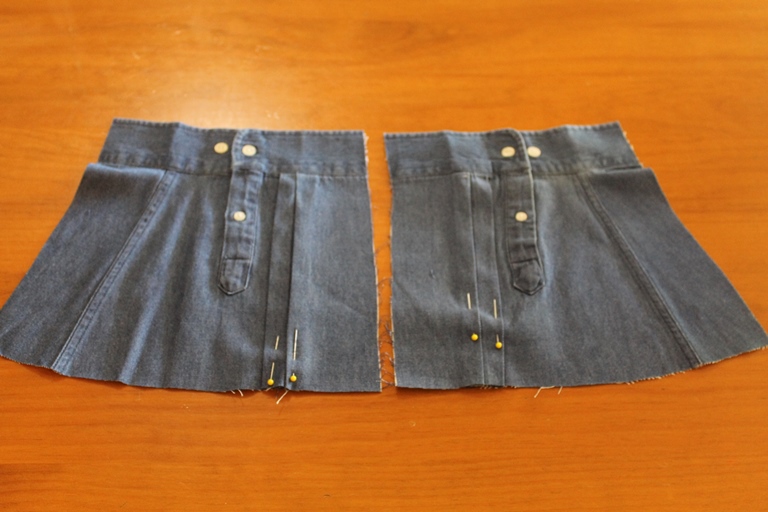
Cut off the cuffs about half way up the sleeve.

Turn the cuffs over so the buttons are facing the table and cut straight up the middle of the sleeve on the opposite side to the buttons, through one layer of fabric only.

Iron the cuffs out flat, measure and trim to desired pocket size. I like to sew corresponding pleats along the bottom of the pocket as it gives me lots of room for pegs etc or picking things up as I'm going round the house.....(and hiding the odd block of chocolate).
This is also the time to decorate the pockets if you want to with some ricrac, braid, appliqué or maybe some embroidery.
Fold a narrow edge over on pockets and attach to front of apron/pinny. (I must have been in the midst of a 'sewing frenzy' at this point because I forgot to take a pic).
And here it is finished!

And modelled (ha ha!)

This idea can be adapted in countless ways. It can also be worn with the buttons down the back and the pleat at the front as a maternity smock - remove the chest pocket or you'll end up with a pocket on your shoulder blade.
I really love this apron/pinny idea made in white linen - (if you're ever lucky enough to find a pre-loved luscious white linen shirt), with some embroidery added around the neckline and on the pockets.
I hope you take this idea and make it your own.
"I dreamed a thousand paths. I woke and walked my own".......Chines Proverb.
No comments :
Post a Comment